A weekend spent with the highly regarded BAFRA member David Battle on his picturesque property in Umberleigh, Devon, has made me reevaluate my making methods and inspired me to look closer at the antiques of today, to understand how to make the antiques of tomorrow.
 David’s workbench, where the magic happens.
The first rule of restoration? Don’t talk about restoration. Okay, it wasn’t quite Fight Club, even though David could easily be Meatloaf’s stunt double. The first rule actually – as I was solemnly told in the dimly lit and crowded yet orderly workshop – is to not leave any obvious signs of you, the restorer. To achieve this, you would have to follow closely the second rule, or principle, which is that your work should be reversible – so that in 100 years another restorer can work their magic.
I was coming to learn about restoration, already well on my way to accepting this principle of reversibility. Chris Schwarz, woodworker and publisher, came to Rowden workshops to teach the Anarchist’s tool chest, a week-long course he takes all around the world. Chris’s glue choice for assembly is hide glue (an animal product) for several reasons, but primarily for its ability to be reversed. To give you some idea of the impact of such a simple concept, consider the remarks from David Savage, one of the most experienced and progressive designers in the UK if not the world, when he was re-introduced to a glue he gave up early in his career in favour of PVA, for no other reason that the glue pot required for hide was, at the time, expensive. He said with wistful fascination during one of his hide glue veneering demonstrations; “I’ve just realised that I’ve made a generation of furniture that is unrestorable”.
What a revelation! Let that sink in for a second.
Some could argue that in the future they might invent some technology to pull apart joints that use modern glues, or that you might be able to restore it if you throw enough money at it. However, both these arguments have very big ‘ifs’ in front of them. The antiques of today were made with hide glue and so restorers have no problems working with them. This has led to an expectation in the public that all furniture must be able to be restored just as easily.
Asking Chris why he thought hide glue went out of fashion, he mused that when PVA came out, it was during the space race, a time when everything new, synthetic and scientific reigned supreme. Hide glue had a strong smell (to some), it required attention and if you didn’t know how to use it well, it could be inconsistent in performance. However I would argue an additional factor is at play here: the tension between designer and maker and the split incentives that drives them both. The maker wants to get things done with the least effort, to the highest standard. PVA and other synthetics do this very well. The designer wants to build furniture that represents his ethos of making the antiques of tomorrow. Who would want to pay for high end furniture that doesn’t have that potential? The designer wants his name to organically grow through and from the pieces he or she sells. If the furniture is damaged, as it will inevitably given enough time, then unless it can be repaired it could quickly end up in the skip. It demonstrates how the tight bond between the designer and the maker, first conceived by the fathers of the Arts & Crafts Movement, can so quickly dissolve if left unchecked.
An important skill for any fine furniture maker is the ability to do ‘invisible mends’ as they’re called in the industry. This requires you to be able to read grain direction and colour to be able to marry a patch back into the piece you’re making. David Battle says the most important feature of antique furniture is age. You are always trying to preserve age and so you are always asking yourself, what is the minimum I need to do to repair or clean this piece? It’s like giving an old man a haircut, but not dying his hair or changing his style. We used pigments mixed with medium cut of shellac to carefully blend back the colour of the patch to match the surrounding wood. Of course, shellac being dissolved by methylated spirits meant if you didn’t get the colour right you could simply wipe it off and start again.
As with many disciplines, the more you learn, the more you realise how little you know. David had an encyclopedic knowledge of period furniture, and could tell at an instant not only what period it was from, within the nearest decade, but also tell if it has been modified from its original form. For instance, the chest of drawers were were patching, he pointed out, had feet that were too small. The moulding on the top is more aligned to what you would expect of a ‘chest on a stand’. You can only build this type knowledge through years of practice in the field. It’s important to realise this before taking on any serious restoration project as you have an ethical obligation to the piece, not the customer, to provide the correct care. David turns down work where he is asked to modify a piece to make it more valuable by looking like something it was never meant to be.
I like that.

David’s well used, cast iron pot of hide glue.

Chair rail being glued in after patch repair.
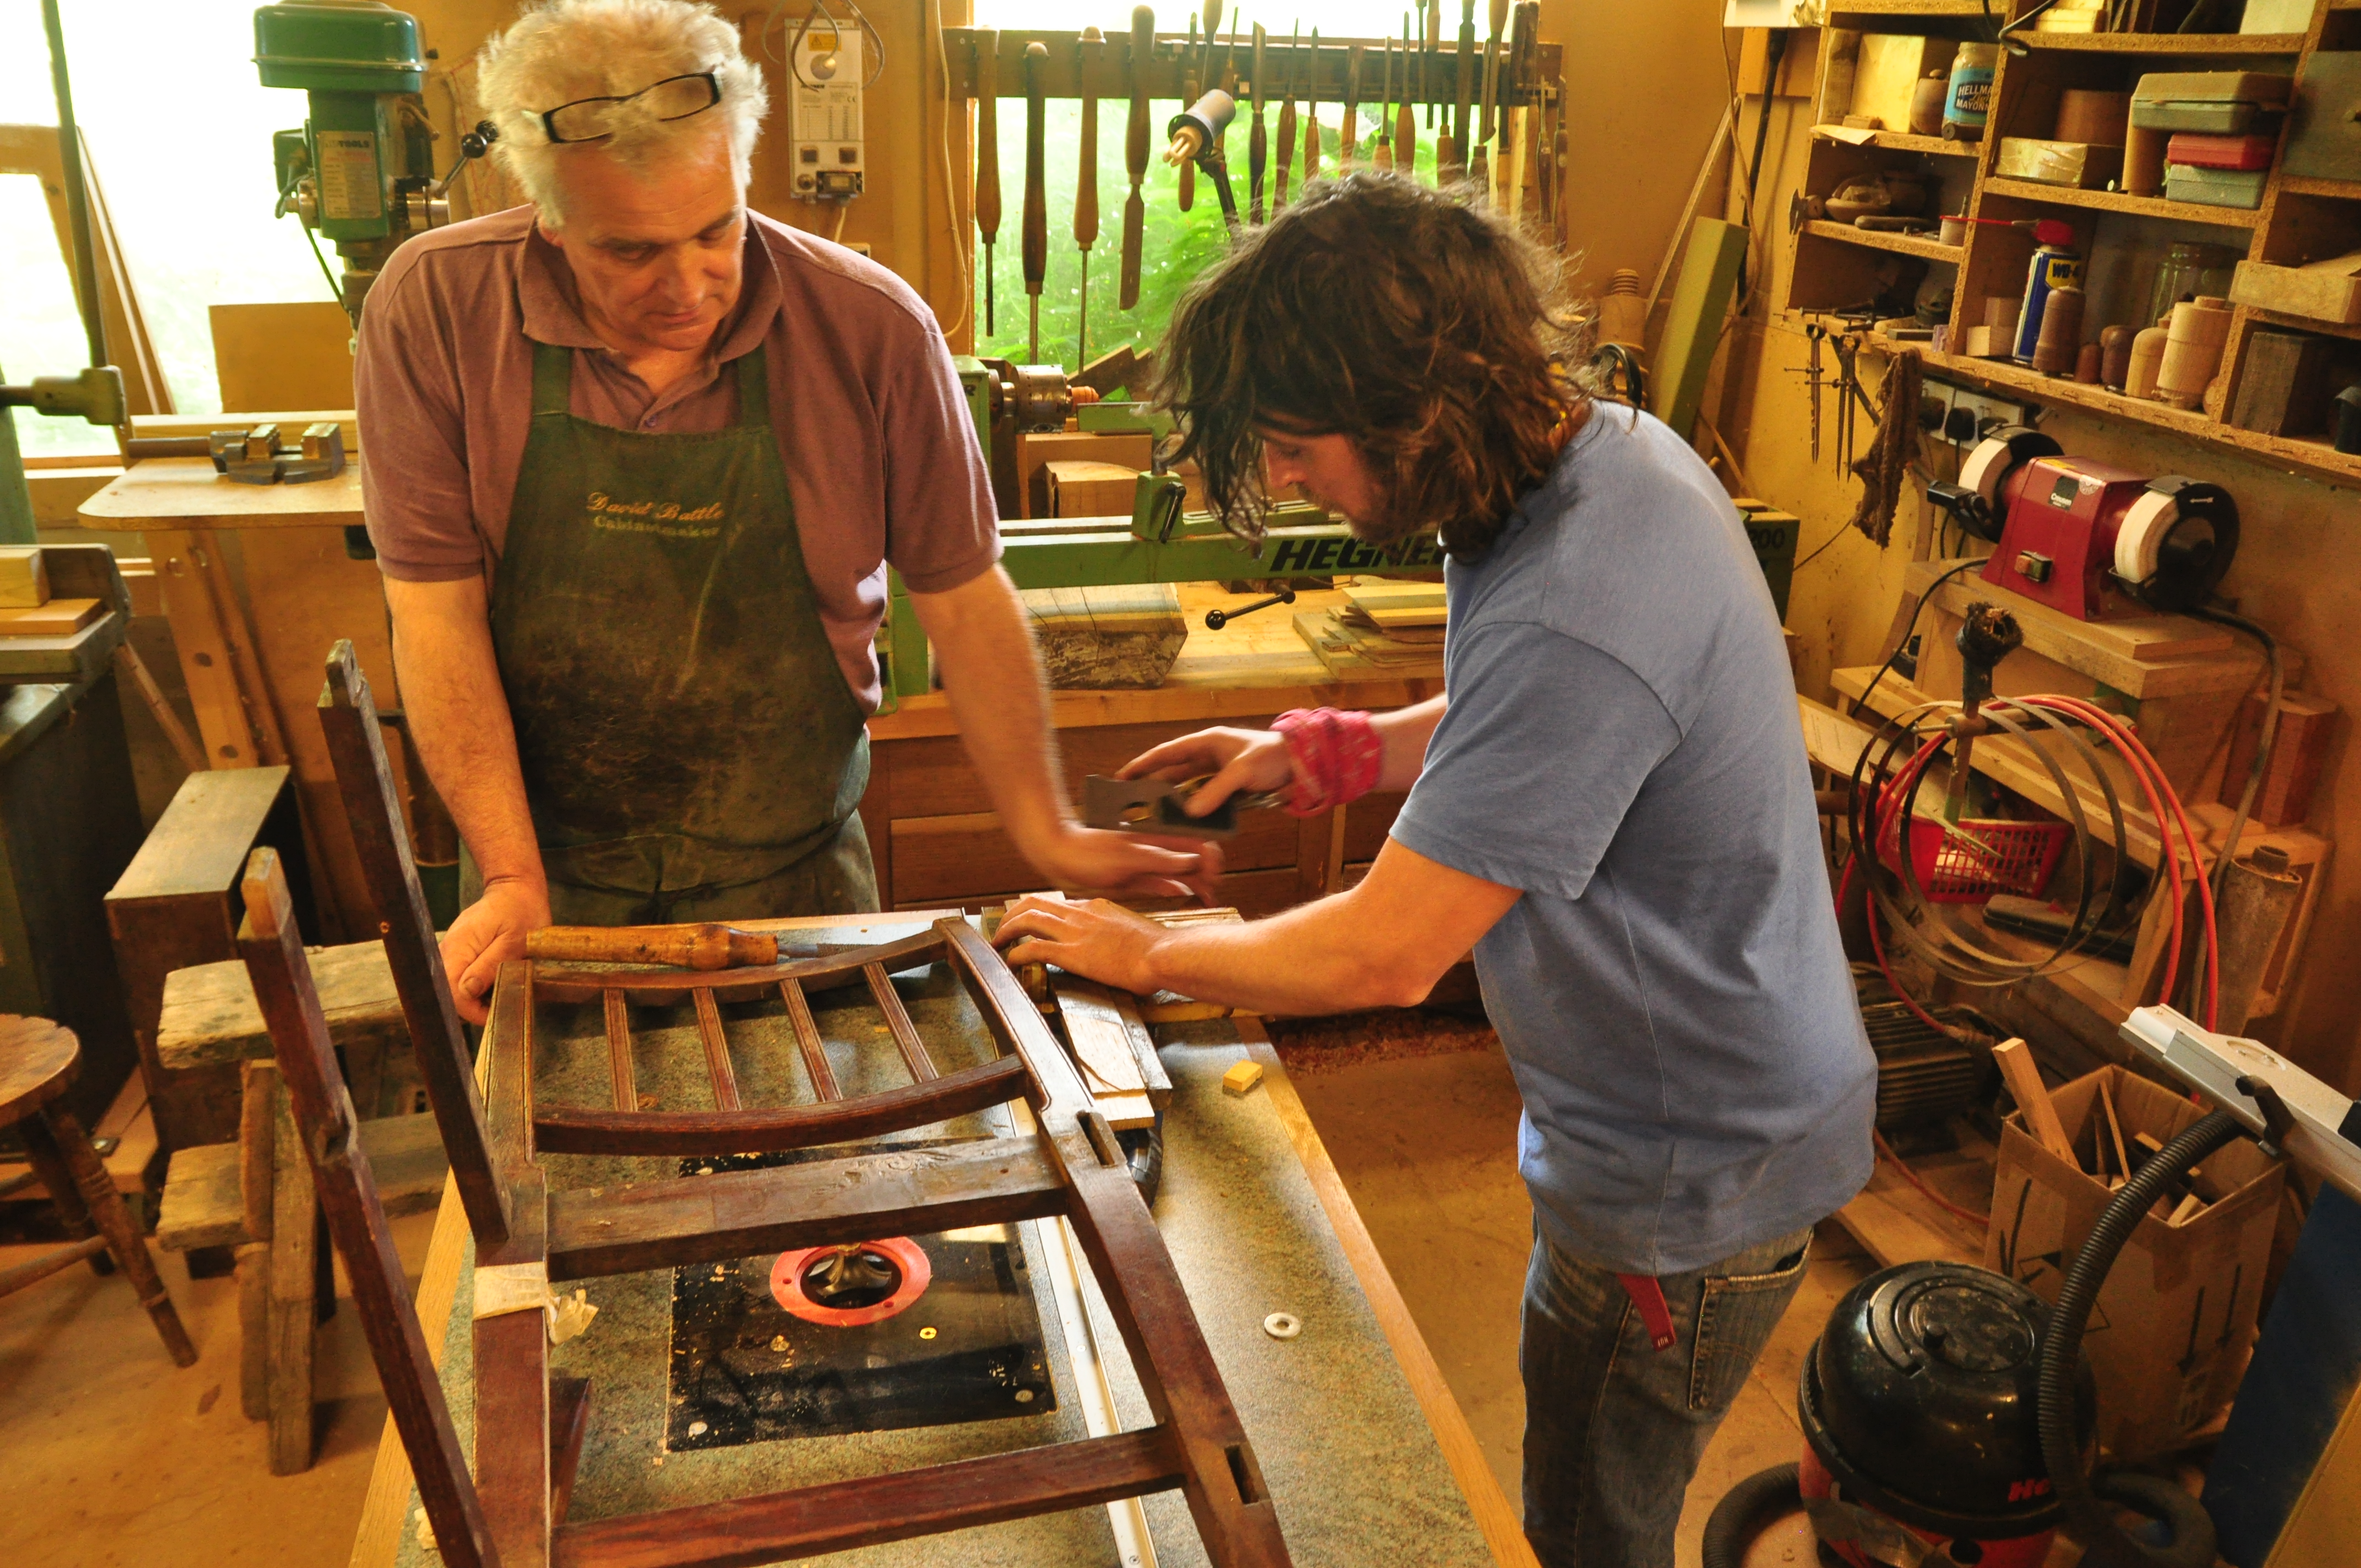
Matt and David in the workshop.

Main palette of pigments used for colour matching.

Various chairs from various periods in various states of repair.

David demonstrating simple carving techniques.

Cleaning a table top user his magic ‘reviver’ solution that he makes himself.

David demonstrating basic wood turning for knob repairs.

The finished product.

Patch after gluing and shaping using French walnut, which is light enough for colouring later.

Same patch, after colouring.

Now, I can see why regular blogs can be interesting and satisfying to read: they reveal the journey traveled by the writer. However, that still requires substance, skill and craft, a parallel, if you like, to fine furniture making – and restoring!